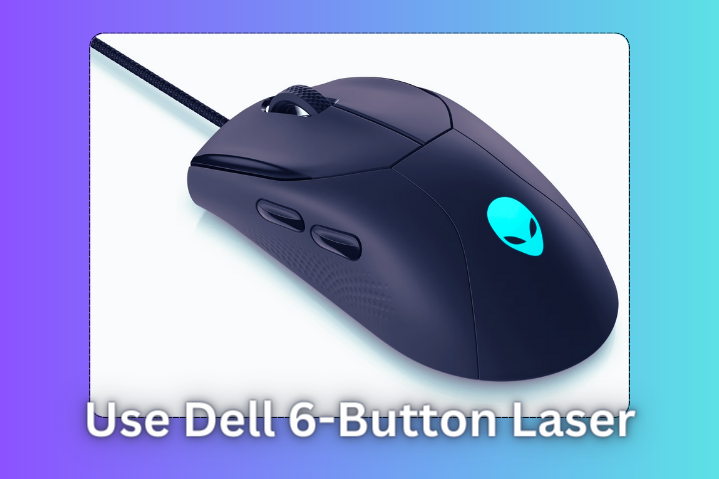
If you have a Dell 6-button laser mouse and are uncertain how to utilize it, this article is for you. Here, we’ll give a bit-by-bit cycle to assist you with utilizing your mouse successfully.
Mouse Setup and Installation
Unboxing and Connection:
- First, remove the mouse from its box. Ensure all components (mouse and user manual) are intact.
- Connect the mouse to the USB port on your computer. Simply connect the USB cable because the mouse is wired.
Driver Installation:
- Most of the time, your operating system (such as Windows or macOS) will naturally introduce the drivers when you plug in the mouse.
- If your framework doesn’t naturally introduce the drivers, follow these means:
Manual Driver Installation
Dell Official Website:
- Go to the Dell support website and click Update Drivers.

- Enter the URL: Dell Service Tag, Dell EMC Product ID, or Model.
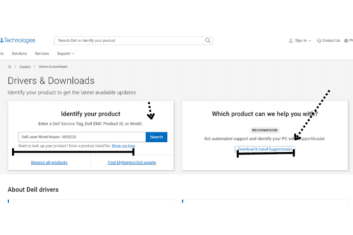
Dell Service Tag, Dell EMC Product ID, or Model Number Search:
- Enter the Dell Service Tag, Dell EMC Product ID, or Model Number of your mouse in the search bar. The model number is usually on a sticker under the mouse.
Drivers and Downloads:
- Navigate to the relevant drivers and downloads section from the search results.
Download Driver:
- Download the driver compatible with your operating system (Windows/macOS).
Install Driver:
- Open the downloaded file and follow the on-screen guidelines to install the driver.
Dell Mouse Software Installation
Dell Peripheral Manager Download:
- Download the Dell Peripheral Manager software from Dell’s official website.
Software Installation:
- Open the downloaded installer file.
- Follow the on-screen instructions to install the software.
Mouse Buttons and Functionality Customization
Software Installation:
- Download the specific Dell software that provides customization options.
Button Configuration:
- Open the software and customize the different buttons. You can assign specific tasks (e.g., copy, paste, open an application) to each button.
DPI Settings:
- Change the mouse’s DPI (specks per inch) awareness of the Software. This feature assists you with controlling the cursor’s speed and accuracy.
Mouse Buttons and Functionality
Left Button:
- This button is commonly used for click, select, and drag operations.
Right Button:
- They are used to open context menus. Right-click on any item to see its options.
Scroll Wheel:
- Helps you scroll vertically. Use it to navigate web pages, documents, and files easily.
Middle Button:
- Pressing the scroll wheel acts as a middle button. Use it to open/close tabs or perform other custom functions.
Side Buttons:
- The Dell 6-button mouse has two additional buttons near the thumb. You can change these, which are set as the default for forward and backward navigation.
Maintenance and Troubleshooting
Cleaning:
- Regularly clean your mouse. Utilize a delicate fabric or compacted air to eliminate residue and flotsam and jetsam.
Cable Management:
- Arrange the mouse cable neatly to prevent tangles or damage.
Troubleshooting:
- If the mouse isn’t working properly, try changing the USB port. Update or reinstall the drivers if needed. For hardware issues, contact Dell customer support.
Conclusion
Installing and customizing your Dell 6-button laser mouse is straightforward. You can make your mouse fully functional and customized by following a few simple steps. It will last longer if it gets regular maintenance. On the off chance that you face any issues, follow the investigating steps or look for proficient assistance.
FAQS
Why is my Dell 6 laser-wired mouse not working?
Reset the wireless USB receiver or USB cable. If your mouse is now not working. Maybe issues with your hardware. See this article. I hope this article helps your problems solved more.